|
The plywood inserts will eventually be inserted into the rim of each side of the barrel. This reinforces the barrel so that it retains its shape better when the heads are put on. It is possible to make drums without the reinforcement, but they can become oval-shaped if the heads are stretched unevenly across the barrel, or the rim can crack when someone plays a "ka" too hard. Mark Miyoshi credits Henry Nakata with the development of the rim reinforcement.
The goal in this step is to make sure the plywood inserts dry without separating. Your plywood insert should be as close as possible to a solid 2" thick piece of wood.
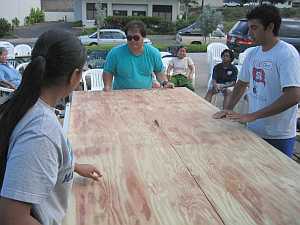
- Use a tablesaw to cut a 4' x 8' sheet of 1/2" thick plywood into eight 2' x 2' squares.
Click to see next step
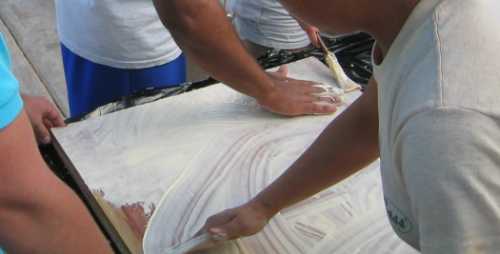
- Make two stacks of 4 pieces each (to make a block that is 2' x 2' x 2"), alternating the orientation of the grain.
- Use wood glue to glue the 4 pieces together. Put the glue on thick, especially on the edges where the ring will be cut out.
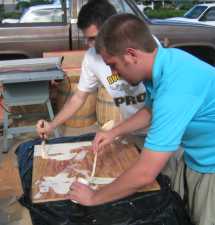 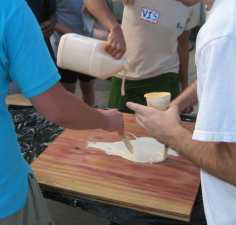
- If you don't mind getting your hands dirty, use your hands to spread the glue. The work will go much faster (just watch out for splinters)!
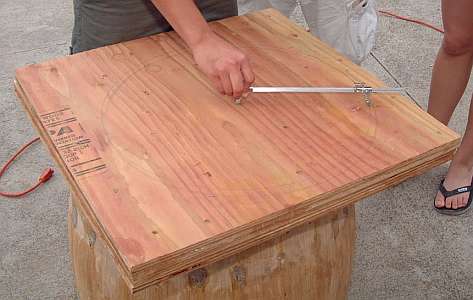
- Draw a circle on the top piece of plywood with a beam compass. This line will represent the outer circumference of the insert, so it should be about 18.5" in diameter. Mark the center of the circle.
- Ideally, the best thing to do next is to clamp the pieces together and let it dry, but this takes a lot of clamps. Instead, screw the plywood stack together. Use screws that are long enough to go through all 4 pieces, but not through the other side. Start at one corner and move to the opposite corner, putting screws both inside and outside the circle. Avoid putting screws closer than 1/2" to the circle you drew since you will eventually be routing near there.

- Let the glue dry for 1-2 days.
|
 Introduction
 Process
