|
In this stage, the head and mimi are cut out. It is important to work quickly, because as the skin dries, it becomes harder to work with. For this reason, it is best to work inside or in the shade. The measuring of the head and the marking off of mimi can be made substantially faster with a waterproof blueprint of the important points.
The mimi holes described in this manual are circular, but mimi holes are often cut as slits. It is a matter of preference.
- Sweep clean an area of the floor or lay down a section of plywood or cardboard.
- Lay the skin meat-side down (smooth side up).
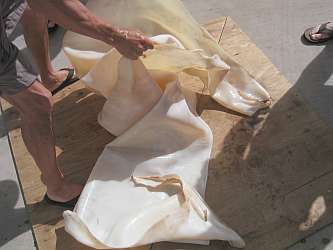
- Choose an area on the skin where there arenŐt flaws (brands, etc.); flaws on the edges are okay, as long as they will be clear from the face of the drum. Use the thickest parts of the skin (spine to belly = thick to thin = rear to head of cow). You can get about three heads from one half-hide.
- Lay out the waterproof blueprint on the chosen area.

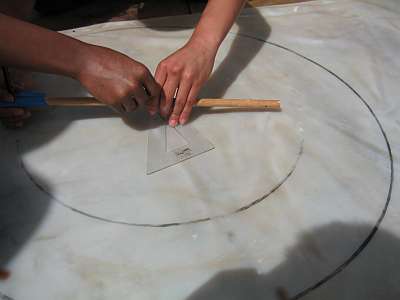
- Slide a piece of plastic with an indentation (not a hole!) for a compass needle under the blueprint (so that the compass needle doesnŐt pierce the skin). Line up the indentation in the plastic with the center point of the drum head. A ruler or triangle works well. If you draw "crosshairs" through the indentation on the plastic, it will be easier to see beneath the blueprint. Remove the blueprint, but leave the piece of plastic.
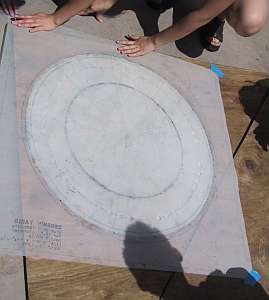
- You will need to draw two circles on the skin: one to represent the edge to be cut, and a second to mark the size of the drum head. This second line will act as a guide when stretching. Don't worry: the lines will wipe off.
- To draw the circles, use a grease pencil and a beam compass. Adjust the compass to the appropriate size by comparing it to the blueprint. If you use a blueprint similar to the one used by Zenshin Daiko, the difference in radius between the two circles will be 6".
- Use scissors to cut along the outer circle. Cut on the outside edge of the grease pencil line. Try to do this before the skin gets too dry, but if needed, dampen the skin.

- Lay the blueprint over the skin again.
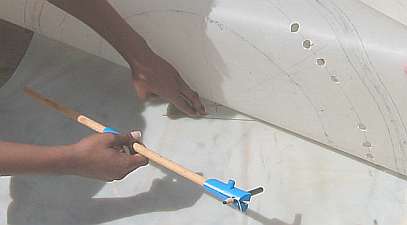
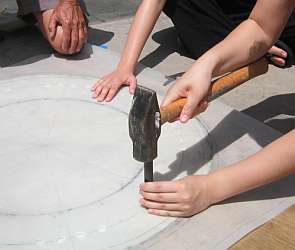
- Using a 1/2" metal hole punch and a hammer, punch the mimi holes following the template. The Zenshin Daiko template has 9 mimi for an 18" taiko. Mark Miyoshi recommends using as many mimi as possible to increase control over the stretching process. He typically uses 10 mimi for an 18" taiko. Make sure you have cut through the skin entirely, because it is difficult to rip the skin with your hands.
- Resoak the skins in a tub until you are ready to start forming the heads (the first stretch).
- Save the scraps of hide to use them when forming the mimi.
|
 Introduction
 Process