University IT support and services are available to you, no matter where you are located. If you need help telecommuting, check out our Work Anywhere site.

Read more articles in the category.
Set Yourself Up for Zoom Meeting Updates
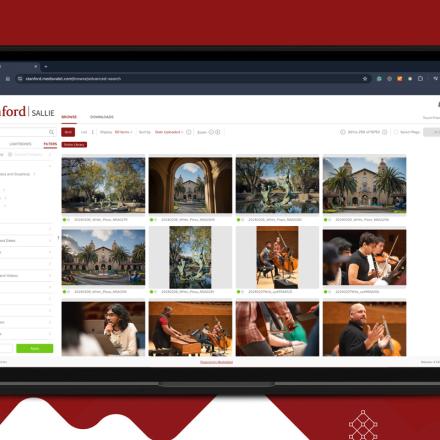
The Latest and Greatest SALLIE is Here
Read more articles in the category.
Using Mailman? External Recipients May See a Change in the “From” Address
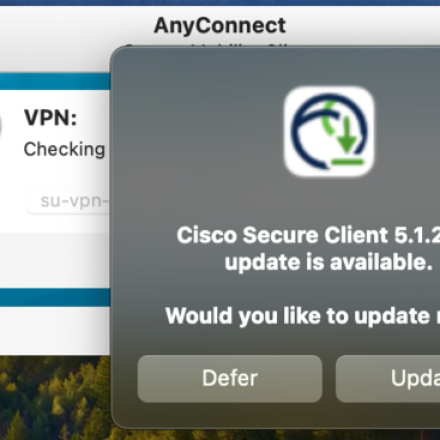
How to Upgrade Your VPN Client and Why to Act Now

New Cvent Service Offers Event Management Help

Preparing to Migrate to the Splunk Cloud Platform
Stanford Web Services and the Office of Digital Accessibility Team Up for a More Accessible Stanford Sites
April 17, 2024
Thanks to the teamwork of Stanford Web Services and the Office of Digital Accessibility, the latest release of Stanford Sites is more accessible than ever before.

New Features to Help You Get (Even More) Excited About Slack’s Redesign
January 19, 2024
Slack’s redesign comes with useful new features so you can easily tweak your settings to filter, sort, and organize your workspaces, channels, and DMs.
Slack’s Big Redesign Arrives in December
November 10, 2023
Slack is rolling out one of its most significant design transformations to date, and the update will be released to the Stanford Slack grid on Dec. 19. Here's what to expect.